Soldering
(this is kind of a brain dump, sry!)
When you want to give your circuit a permanent home beyond the breadboard, it's time to solder it up.
Solder is like an electric glue. It's a metal that melts at 600°F and re-solidifies when cool, conductively connecting anything it touches.
What to get when you're starting out
I think the best way to learn is through a "learn to solder" kit. Get one that comes with a soldering iron, solder, and a practice PCB (Printed Circuit Board). Pick up needle-noise pliers and and wire cutters too if you don't already have them.
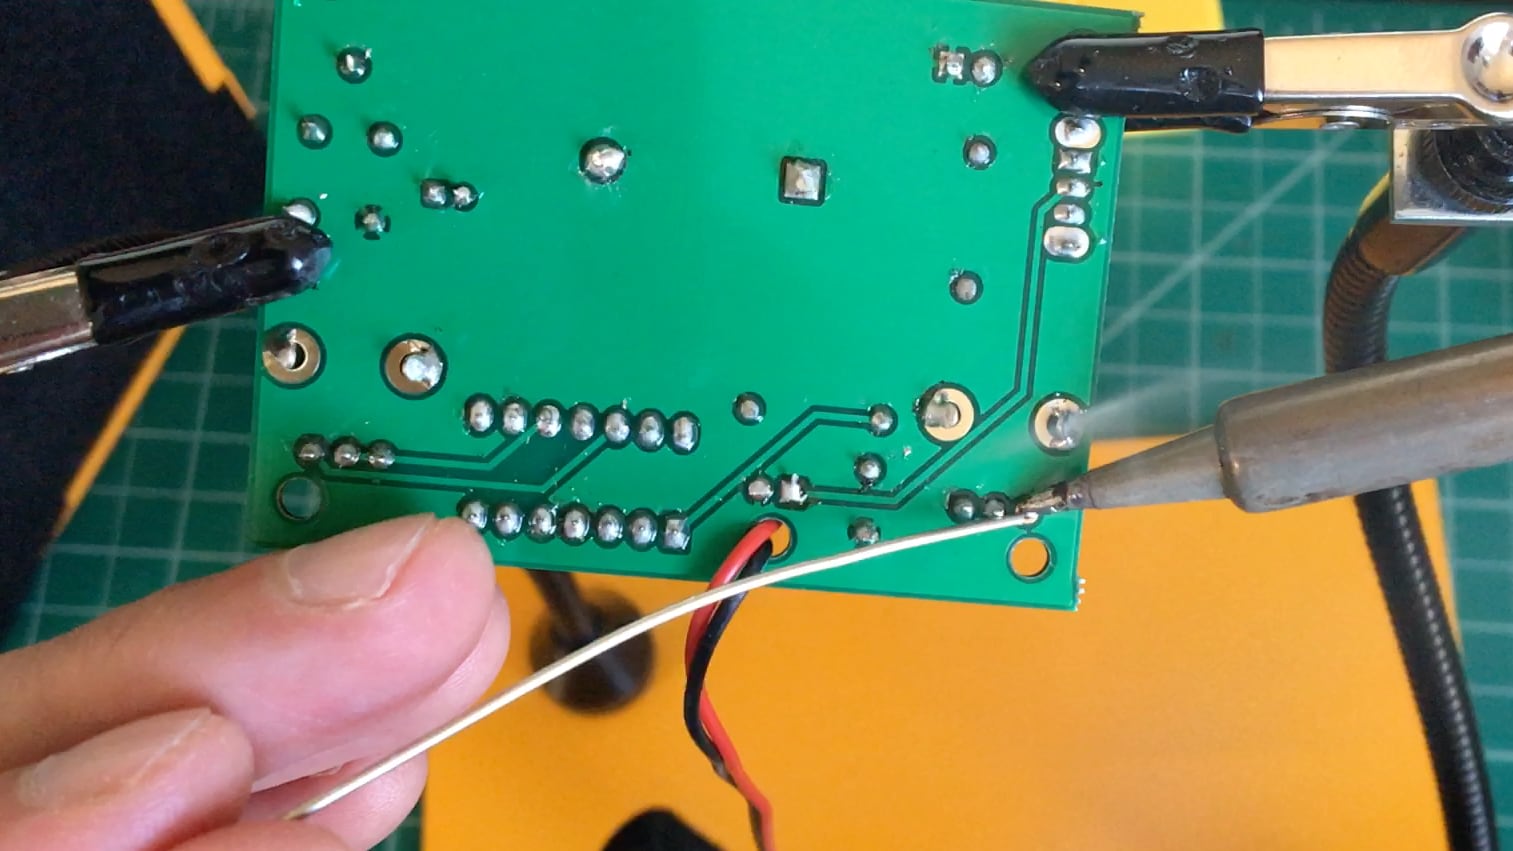
 Don't judge the messiness, I was still learning!
(A cheap soldering iron won't last forever, but it will last long enough for you to decide if you like it enough to want to upgrade. I have a Weller; Hakko is a popular brand. Spend $100-$200 and you'll be set, probably for life.)
As for what kind of solder to get, the big question is "leaded or unleaded?". The safe and lawsuit-avoidant answer is lead-free, but leaded solder is easier when you're starting out. (In either case, have good ventilation and wash your hands when you're done.) Prefer solder with a "rosin core"; that helps it melt and is nice to work with.
IMPORTANT: Do not get any soldering equipment from your friendly local hardware store. No guns or torches, nothing that's butane-powered, etc. Soldering tools for stained glass artists and jewelry makers are similarly unfit.
How I think about soldering, summarized
Before beginning, get the component you want to solder held in place so it won't wiggle out.
- Bring heat to the joint
Put the tip of the iron wherever you want the solder to go. Hold it there for a second or so to get things hot. 1 - Bring solder to the heat
Without removing the iron's tip, introduce solder. It should melt into there like butter on a hot pan. (If you're not sure how much you need, it's easier to add more later than remove excess, so go lighter!) This takes about a second. 2 - Remove solder
Still without removing the iron's tip, pull the solder away. 3 - Remove heat
Give the heat from the iron a few seconds to let the melted solder flow and settle into place. Then, pull the soldering iron away.
When done, inspect. A good joint will look like a cone and won't wiggle at all if you try to move the component around. We want it physically fixed into place. Trim any long leads off before moving on.
Bad solder joints usually look ball-ish, like the solder wasn't pulled fully into the joint OR there's so much solder that it formed its own weird blob away from wherever you wanted it to go.
1: If there's more metal to heat up, it will take more time.
2: You'll eventually figure out that you can reverse the order of these first two steps or even do them at the same time and it works just fine, but I like to conceptually break them into distinct actions. A common hickup is from putting solder on the iron and then trying to bring that hot solder to a cold joint; it doesn't flow well because the solder will stick to heat.
3: If you skip this step and pull the iron away first, you'll have the solder wire stuck to the joint. NBD, just melt it off.
Other notes
- Soldering as a technical skill can be learned in 15min, but what you do with it and how you use it are mostly up to personal taste/style! It's like what typing is to writing — a tool for an art but not the art itself.
- I strongly recommended soldering up other people's designs on ready-made PCBs (Printed Circuit Boards) before soldering your own circuits.
- I did a couple Velleman kits when starting out. Tindie is a great source for indie DIY kits. I like Alpenglow. Otherwise, google "soldering kit" and find something simple. (I make some too, hi.)
- Avoid anything labelled "SMT" or "surface mount". These parts are small and require some specialization. Instead, we want "through-hole" where the parts all go through holes (get it?) on the board.
- Some good non-board starter soldering projects
- Male header on 9v snap so you can plug it into a breadboard
- LED with current-limiting resistor for one of its legs
- "Tinning" the stranded ends of wire cable that connect the speakers to a hi-fi stereo
- Permanently connect jumper wires onto speaker terminals or anything else you want to breadboard with without using up gator clips
- For your own circuits, you have a choice of board "canvas":
- Options
- Protoboards are the default. They have a grid of holes that you plop things into to solder, and there's copper around each hole.
- Perfboards are cheap protoboards. They're thinner and can be cut to arbitrary sizes, and there's usually only copper on one side of the board.
- Veroboard/stripboard has parallel tracks along the length of the board that connect pads. You cut a track apart when you want a conductive break.
- Perma-protoboards are protoboards arranged like breadboards. You can basically do a 1:1 transfer.
- Breadboards have a hole spacing (aka pitch) of .1" (or 2.54mm). You almost certainly want the same pitch for your board.
- Which style you choose is up to you and what the project needs; there is no "best". Do you want your circuit to still be arranged like it is on the breadboard? Do you want to rely on the board for connections or run your own wires? Components on just one or both sides of the board? A non-standard size? People have strong opinions here; get one or two of each and see what you like.
- There is some annoying overlap in terminology, and folks (probably me included) will use one word to refer to other kinds of boards. Also, I think all are technically breadboards but the ones we use in class are called "solderless breadboards"? Whatever, it's mostly harmless, just read all the text of what you're buying.
- Options
- For parts without long legs to bend and hold them on place on the board, you can use tape or wall-mounting putty to affix things.
- Get into the habit of visually inspecting as you work. Many components like button switches or pots need to be perfectly level on the board, and it's much easier to fix that when you haven't soldered all of their legs in place.
- People commonly recommend soldering components in order from low-to-high (ie, little resistors and caps, then bigger caps, then switches, then pots, and so on). The idea is that the smaller components will be less in-the-way as you work up to the bigger parts.
- Tommy's Hot Take: For big circuits, I prefer to solder by "function". So you solder enough to light the LED then the oscillator then the amp, etc and so on. The idea is that you're getting ~constant feedback on whether or not what you just soldered worked before moving on to the next part. (The PCB kits I design all do this and people seem to like it.)
- Other gear to get
- Vise or "helping hands" tool to hold your board firmly while you work
- Solder sucker or braid to remove solder when you mess up
- Fume extractor to make your air less toxic
- Multimeter to help debug why things aren't working when things don't work